
Most American groups know that organizing a shared event can bring unexpected headaches. With over 60 percent of group organizers reporting scheduling as their biggest hurdle, finding common ground goes far beyond picking a date. Clear goals and smart planning help American teams avoid confusion and maximize participation. This guide reveals how to set purposeful objectives, consider everyone’s constraints, and lock in a date that works for your entire group.
Table of Contents
- Step 1: Define Your Group Event's Goals And Constraints
- Step 2: Set An Optimal Date Range For Your Group
- Step 3: Invite Participants To Share Their Busy Dates
- Step 4: Visualize Group Availability With Whennot
- Step 5: Confirm The Best Date And Finalize Details
Quick Summary
| Key Insight | Explanation |
|---|---|
| 1. Define event goals and constraints | Clearly outline the main objectives and limitations to guide your planning process effectively. |
| 2. Optimize date selection | Identify potential date ranges while considering participants' availability to ensure maximum attendance. |
| 3. Utilize WhenNOT for scheduling | Use WhenNOT to streamline participant input on unavailable dates, making scheduling more efficient and less complicated. |
| 4. Visualize availability effectively | Create a color-coded chart using WhenNOT to easily identify common free dates for your group. |
| 5. Confirm dates and logistics promptly | Communicate and finalize event details well in advance, ensuring all participants are aligned before the event. |
Step 1: Define your group event's goals and constraints
Successful group events start with crystal clear goals and realistic parameters. Before diving into scheduling and logistics, you need a comprehensive understanding of what you want to achieve and what boundaries exist for your gathering.
Begin by conducting a structured goal setting process that provides direction and motivation for your group. Experts recommend a methodical approach to goal definition that involves collaborative brainstorming and prioritization. Gather your key participants and discuss the fundamental questions: What is the primary purpose of this event? What specific outcomes are we seeking? What constraints might impact our planning?
Consider breaking down your event goals into specific categories such as social connection, professional networking, team building, or celebration. Each category will help you refine your objectives. For instance, a team retreat might prioritize relationship building and strategic alignment, while a family reunion might focus on creating shared memories and reconnecting with relatives. Document these goals clearly to provide a north star for your planning process.
Here's a quick reference for common event goal categories and their primary focus:
| Goal Category | Main Objective | Example Outcome |
|---|---|---|
| Social Connection | Strengthen personal ties | Increased attendee interaction |
| Professional Networking | Build career relationships | New business introductions |
| Team Building | Foster group cohesion | Improved teamwork |
| Celebration | Mark achievements or milestones | Shared memorable experience |
Pro Tip: Create a one page "event vision" document that outlines your core goals, key constraints, and desired outcomes. This single reference point will help keep everyone aligned throughout the planning process.
Step 2: Set an optimal date range for your group
Choosing the right date range for your group event requires strategic planning and careful consideration. The perfect timeframe balances participant availability, logistical constraints, and potential scheduling challenges.
Start by identifying potential conflicts and popular scheduling periods that might impact your group's participation. This means avoiding major holidays, religious observances, academic exam periods, and known personal or professional commitments that could limit attendance. Create an initial list of 3 to 5 potential date ranges that seem promising for most participants.
Communicate broadly with your group to understand individual constraints and preferences. Consider sending out an initial survey or using WhenNOT to quickly identify dates when most participants are unavailable. This inverse scheduling approach helps you pinpoint windows of opportunity more efficiently than traditional availability polling. Look for date ranges where the fewest people have existing commitments, allowing maximum potential participation.

Pro Tip: Always build in a buffer of 1 to 2 extra days around your preferred date range to accommodate unexpected scheduling shifts and provide flexibility for group members.
Step 3: Invite participants to share their busy dates
Inviting group members to share their unavailable dates is a critical step in streamlining event planning. WhenNOT simplifies this process by allowing participants to quickly indicate when they cannot attend without complex scheduling gymnastics.
Successful event planning hinges on understanding participant availability and creating an inclusive scheduling approach. With WhenNOT, you generate a unique link and share it with your group members. Each participant can then mark their specific unavailable dates across the proposed date range without requiring account creation or complicated sign up processes. This inverse scheduling method eliminates the traditional back and forth of finding mutual availability.
The platform provides a visual representation of collective unavailability, making it easy to identify optimal meeting times. Participants simply click dates they cannot attend, creating a transparent and efficient way to coordinate schedules. By focusing on marking unavailable times instead of available slots, WhenNOT reduces scheduling complexity and helps groups find consensus faster.
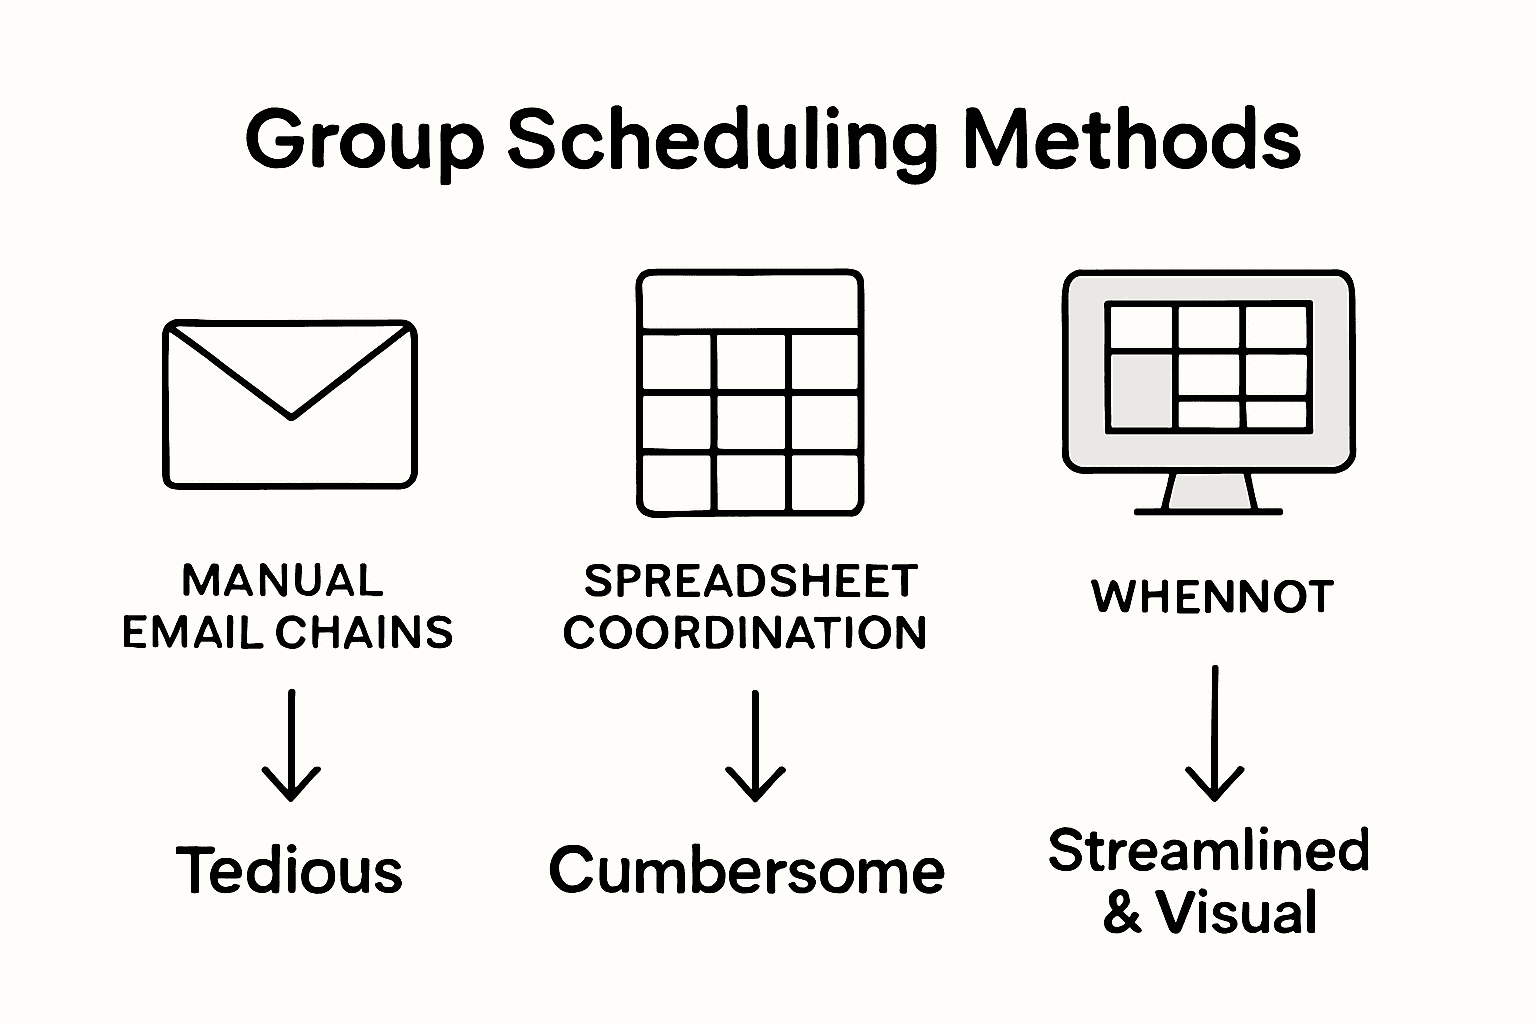
Compare these group scheduling methods and their relative strengths:
| Scheduling Method | Approach Focus | Advantages | Typical Tools Used |
|---|---|---|---|
| Traditional Polling | Finding shared free time | Simple to start, familiar to users | Doodle, Google Forms |
| Inverse Scheduling | Reporting unavailable dates | Fast conflict discovery, reduces back-and-forth | WhenNOT |
| Manual Coordination | Direct communication | Personalized, good for small groups | Email, phone calls |
Pro Tip: Send your WhenNOT invitation link with a clear deadline for participants to mark their unavailable dates to ensure timely and comprehensive input.
Step 4: Visualize group availability with WhenNOT
WhenNOT transforms complex scheduling challenges into a simple visual experience that makes group coordination effortless. The platform provides an intuitive way to see exactly when participants are unavailable across your proposed event dates.
Organizing dates into meaningful visualization ranges helps groups understand scheduling patterns quickly. WhenNOT automatically generates a color coded chart that displays each participant's unavailable time slots. Gray blocks represent busy dates while white spaces indicate potential meeting windows. This visual approach allows you to instantly identify the optimal dates where most participants are free.
The platform's unique interface eliminates the need for endless email threads or complicated spreadsheets. Participants can mark their unavailable dates with simple clicks, and the system immediately updates the shared availability map. You can zoom in on specific date ranges, filter participant responses, and quickly determine the most convenient times for your entire group. By focusing on unavailability instead of availability, WhenNOT streamlines the entire scheduling process and reduces communication friction.
Pro Tip: Take screenshots of your WhenNOT availability visualization to share with participants and keep everyone aligned on potential meeting times.
Step 5: Confirm the best date and finalize details
After visualizing group availability, the next critical phase is selecting and confirming the optimal event dates that work best for everyone. WhenNOT makes this process straightforward by highlighting the most compatible time windows across all participants.
Setting clear goals and confirming event details ensures your group gathering stays focused and aligned. Review the WhenNOT visualization to identify the dates with maximum participant availability. Look for white space zones where the fewest participants have marked unavailability. These are your prime candidate dates for scheduling. Reach out to your group and confirm these potential time windows using the platform's built in communication features.
Now is the time to solidify logistics and gather additional input. Send a follow up message to confirm the proposed dates, asking participants to validate their availability and share any critical details or potential conflicts. Use WhenNOT's collaborative interface to track responses and ensure everyone is on the same page. The platform allows you to make real time adjustments and maintain transparency throughout the confirmation process.
Pro Tip: Always send a group confirmation message at least one week before finalizing the event date to give participants a chance to address any last minute scheduling conflicts.
Simplify Your Group Event Planning with WhenNOT
Planning group events often gets complicated by conflicting schedules and endless back and forth communication. This article clearly shows how identifying busy dates instead of available ones helps you find the best time faster. If your goal is to avoid scheduling headaches, reduce delays, and boost participation, embracing WhenNOT's inverse scheduling method is the smart way forward.
Experience effortless coordination by:
- Letting participants mark when they are unavailable without signing up
- Visualizing group availability to spot ideal dates in seconds
- Keeping everyone aligned with clear, real-time updates

Take control of your next group event and never struggle with scheduling again. Visit WhenNOT today to start your free event setup. Discover how our tool transforms your planning experience and helps you confirm the perfect dates with ease. Ready to make group scheduling painless? Get started now at WhenNOT Scheduling Tool and see firsthand why event organizers worldwide trust this innovative approach.
Frequently Asked Questions
How do I define the goals for my group event?
Start by conducting a structured goal-setting process with key participants. Discuss what you want to achieve, such as social connection, professional networking, or team building, and document these goals clearly for guiding your planning.
What is the best way to select a date range for my event?
Identify potential scheduling conflicts and create an initial list of 3 to 5 date ranges that seem promising for most participants. Communicate broadly with your group to understand their availability and use tools to identify dates when most people are free.
How can WhenNOT help simplify the scheduling process?
WhenNOT allows participants to easily mark their unavailable dates, streamlining the scheduling process. Create a unique link for your group, allowing them to quickly indicate conflicts without signing up, thus reducing the back-and-forth communication.
How do I visualize group availability using WhenNOT?
WhenNOT provides a visual representation of collective unavailability across your proposed event dates. After participants mark their busy dates, you'll see a color-coded chart that instantly shows the best available meeting times, simplifying the decision-making process.
What should I do after visualizing group availability?
Review the availability chart to identify dates with maximum participant availability. Confirm these dates with your group, allowing enough time for everyone to address any last-minute scheduling conflicts before finalizing.
How can I ensure that all group members are on the same page?
Send out a follow-up confirmation message using WhenNOT's built-in communication features. Make sure to reach out at least one week before the event to gather any critical details or potential conflicts from participants.